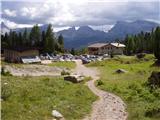
Rifugio Dibona - Tre Dita (Via Ferrata Lipella)
Starting point: Rifugio Dibona (2083 m)
| Lat/Lon: | 46,5326°N 12,0703°E |
| |
Name of path: Via Ferrata Lipella
Time of walking: 3 h
Difficulty: extremely difficult marked way
Ferata: C/D
Altitude difference: 611 m
Altitude difference po putu: 800 m
Map: Tabacco 03 1:25.000
Recommended equipment (summer): helmet, self belay set, lamp
Recommended equipment (winter): helmet, self belay set, ice axe, crampons, lamp
Views: 6.200
 | 2 people like this post |
Access to the starting point:
First, drive to Cortina d'Ampezzo (you can get here via Border crossing Rateče or Predel to Trbiž / Tarvisio and then take the motorway towards Udine to the Tolmezzo exit. From Tolmezzo, follow the road towards Ampezzo and the Passo della Mauria mountain pass. The road then descends and leads to a crossroads where you turn left (possibly right) towards Cortina d'Ampezzo. At all subsequent junctions, follow the signs for Cortina d'Ampezzo. Or from the Primorska side, take the motorway towards Trieste. Continue on the Italian motorway towards Padua, but only as far as the motorway junction where you continue towards Veneto and Belluno. Near Belluno, the motorway ends and we continue towards Cortina d'Ampezzo at the next junctions and then follow the signs for the Passo di Falzarego Alpine pass. We then follow this ascending road to where a road forks off to the right in the direction of the rifugio Dibona hut (the fork is at about 1700m). The rather ruined and initially tarmac road leads us higher up to a junction where we continue on the lower left road (Duca d'Aosta hut on the right) and follow it to the parking lot behind the Dibona hut.
Path description:
From the parking lot, continue along the dirt road past the gate. Follow this road to a marked junction, where you turn left onto a footpath marked "Via Ferrata Lipella", and to the right is route 403 towards hut Rifugio Giussani. After a few metres you are back at the crossroads. This time turn right, also following the signs for "Via Ferrata Lipella". The path then ascends and crosses the slopes below the mighty south face of Tofana to the west. Initially, the ascent passes through dwarf pines, which is soon replaced by a scree slope. As we approach the wall, we are back at the crossroads. Bear left and continue crossing the scree to the west. To the right is the path to Hut Rifugio Giussani and straight ahead is the protected path "Grotta della Tofana".
After crossing the scree, you will be at a crossroads again, where you turn right to follow the signs for 'Via Ferrata Lipella'. The trail turns slightly northwards here and soon enters the climbing part of the trail. Using crampons and a ladder, climb almost vertically upwards. There is another climb up a ladder, which leads to a military tunnel (Galleria del Castelletto). The path then takes you through military tunnels for some time, through which you climb quite steeply on a few occasions. The military tunnel is about 500 metres long and climbs 120 metres. From the tunnel, we then descend by means of a ropeway to a slightly less steep slope below the summit of Il Castelletto. After crossing the narrow ledges to the north, the path becomes very difficult. A couple of times, the climb is almost vertical, helped only by a steel cable. Later, on a short overhanging section, we are also helped by a scramble. The route then continues northwards across the western face. Mostly we walk on narrow ledges, but occasionally we climb steeply. There are a few small descents along the way. This route then continues to a crossroads just before the Tre Dita summit (three fingers). It should also be noted that when crossing the narrow ledges, water often flows from the vertical walls above us. At a time when the snow is still melting higher up, these are quite small waterfalls that can get us quite wet.
At the crossroads, turn left and after a few steps you will reach the northern slopes of the mountain. On the left you will see the Tre Dita peak, which is interspersed with military tunnels.
Pictures:
 1
1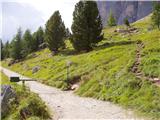 2
2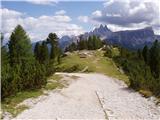 3
3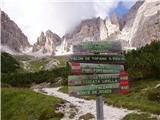 4
4 5
5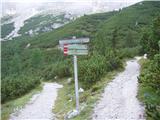 6
6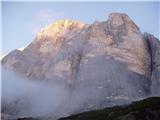 7
7 8
8 9
9 10
10 11
11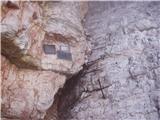 12
12 13
13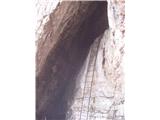 14
14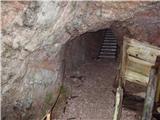 15
15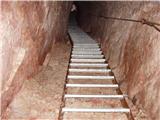 16
16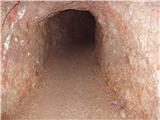 17
17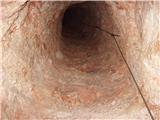 18
18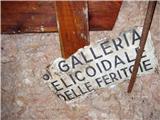 19
19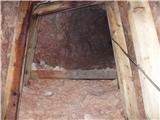 20
20 21
21 22
22 23
23 24
24 25
25 26
26 27
27 28
28 29
29 30
30 31
31 32
32 33
33 34
34 35
35 36
36 37
37 38
38 39
39 40
40 41
41 42
42 43
43 44
44 45
45 46
46 47
47 48
48
Discussion about the trail Rifugio Dibona - Tre Dita (Via Ferrata Lipella)